
Move over beer — make room for mead!
I used to think that mead was a harsh vinegary grog, only to be enjoyed by large and loud Vikings in a cold dark pub in Iceland. Well, I’m pretty sure my Iceland friends would enjoy this homespun mead and I’m happy to share it with you too!
Homemade Mead – guidelines for 1 gallon
Mead is summertime in a glass! Using simple ingredients, it’s fun to turn a little science project into a refreshing drink.
When I started this process, I bought a kit but unfortunately the kit didn’t include all the equipment I needed and it came with a 5-gallon carboy. I definitely didn’t want to learn with such a large batch of mead and potentially waste my precious honey! So, I’m sharing the essential equipment needed to get started and the simple recipe I use regularly. The 1-gallon batch allows me to easily tweak the recipe so that I can have a variety of flavors. Hope it’s useful to you.
- 3 pounds honey (I like amber honey for stronger flavor)
- ½ package (scant 2 tsp) champagne or white wine yeast (Lalvin EC-118 (champagne) or Lalvin ICV-D47 (white wine))
- 1 gallon non-chlorinated water
- ¼-2 cups chopped fresh fruit (optional) (lemons, oranges, raspberries, marionberries etc)
- 1-2 tablespoons whole spices (optional) (cloves, cardamom, nutmeg, etc)
- Begin by sanitizing all equipment and workspaces.
Make the Must
- Heat ½ gallon of the water in a pot on medium heat. Once warm turn off the heat.
- Add the honey to the warm water and stir until completely dissolved. Note: I do not add the honey until the water is about 120°F or less in order to preserve the nutritional elements and subtle flavors of the honey.
- Add the raisins and optional fruit/spices to the gallon jug.
- Using a funnel, pour the cooled honey-water mixture into the jug.
- Top off the jug two-inches from the top with room temperature non-chlorinated water.
- Close the jug with a screw top lid. Shake gently, just to combine the ingredients. You now have must.
Get Ready to Ferment
- Potential Alcohol pre-test — Do this step before adding yeast. Fill the hydrometer jar with must then float the hydrometer. Record the sugar level (Brix) or the estimated alcohol content. You should have about 22.5 Brix or 13-15% alcohol. (see the table below for how I track)
- Return the sample must back to the jug.
- Ensure the must is less than 90°F. Add the yeast to the jug.
- Put the lid back on the jug and shake about one or two minutes to distribute the yeast.
- Remove the screw top lid and replace it with the rubber stoppered, S-shape airlock. Be sure to add a little water to the airlock before affixing to the lid.
Fermentation
- Now the initial fermentation process begins. Within 24 hours, bubbling will start in the jug and airlock. For the first day, I generally leave the jug by the kitchen sink, just in case the bubbling is a little too aggressive. Yes! I have had some sticky eruptions, a pain to cleanup.
- Once the bubbling normalizes (after ~ 24 hours) move the jug to a dark-cool spot. I like placing it where I can enjoy viewing and hearing the fermentation process.
- After about four to six weeks the bubbling will stop, there will be sediment on the bottom of the jug and the mead will be more clear.
Secondary Fermentation and Bottling
- Optional/Recommended: Mead at this stage will be relatively free of sediment and generally not cloudy. However I’ve found that adding a secondary fermentation produces a more refined brew. So, syphon the mead from the original jug to a second clean and sanitized gallon jug. Be careful to leave the sediment on the bottom of the original jug.
- Now that the fruit-yeast waste is removed, the secondary gallon jug will be about two-thirds full of mead. Pour yourself a brewer’s sample to ensure you’re on the right path. You can drink the mead at this stage, but it will likely be crisp.
- Assuming all is well, fill the jug with clean/sanitized marbles until the head space is about 2 inches from the top to reduce the amount of oxygen in the jug, Seal the jug with a clean and sanitized screw top lid and let age for another 1-6 months in a dark cool spot. I store the secondary in a cupboard to make room for my next batch.
- Bottling: After a month or more, taste a sample. If it is still crisp, wait a couple more months. Once you are satisfied, syphon the aged mead from the jug into sanitized bottles. Enjoy with friends!
Step by Step: Mead making picture walk
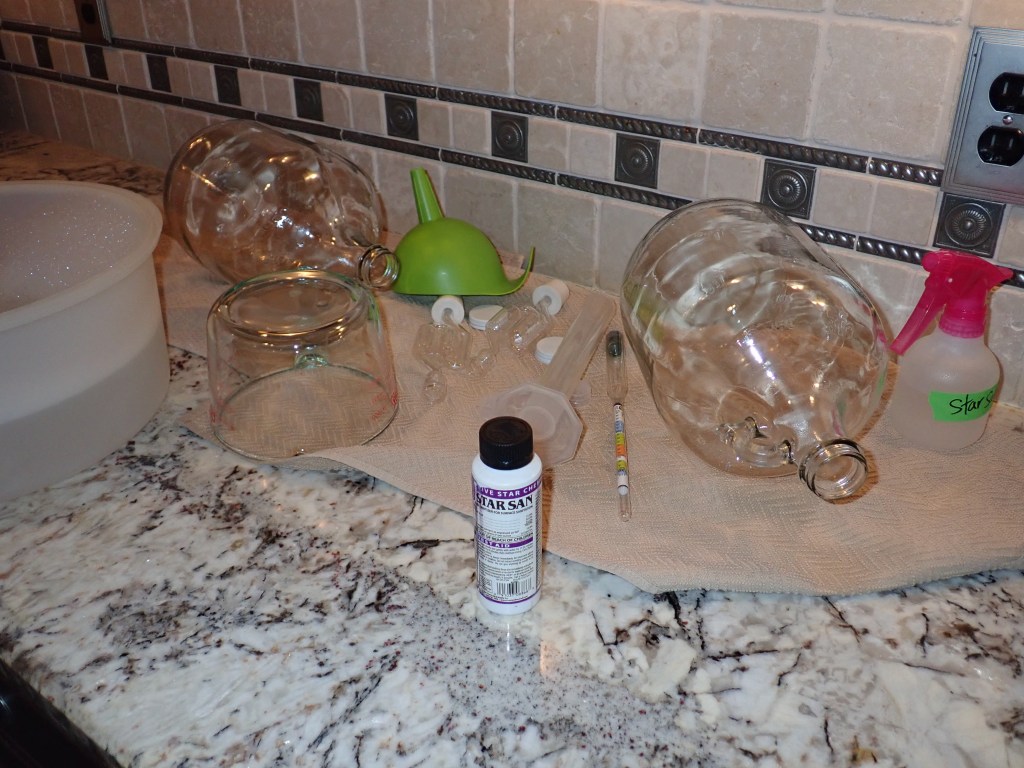
Sanitize brewing equipment 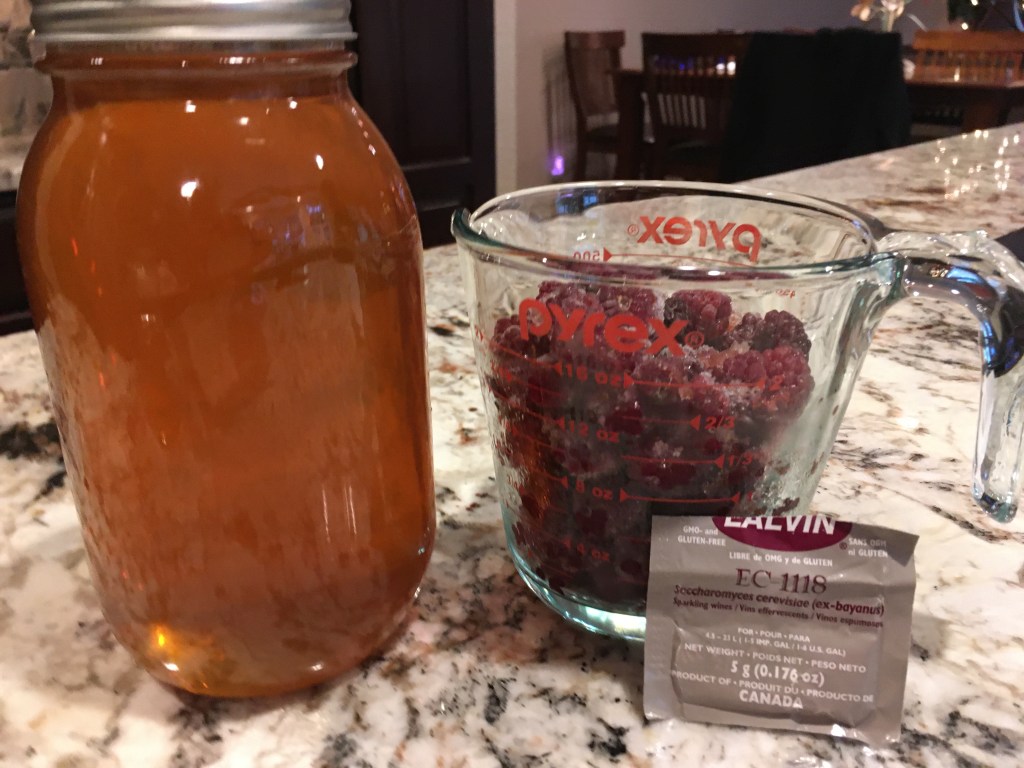
Assemble ingredients: honey, yeast, water, and fruit (optional) 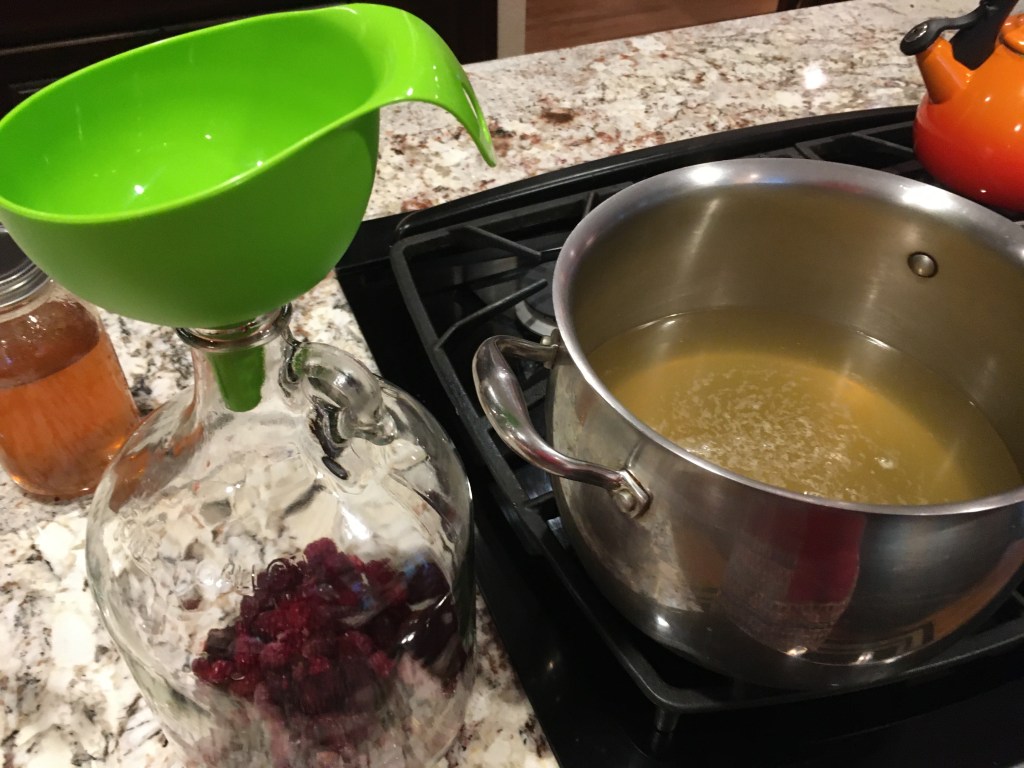
Make the must 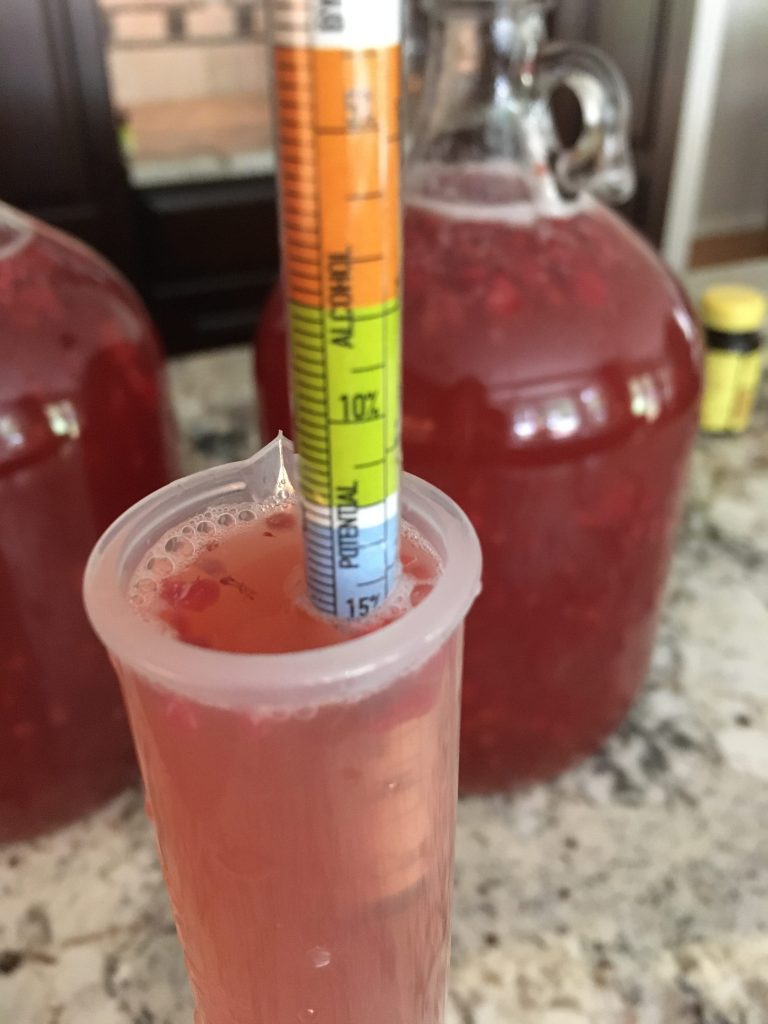
Use hydrometer to check potential alcohol content before adding yeast 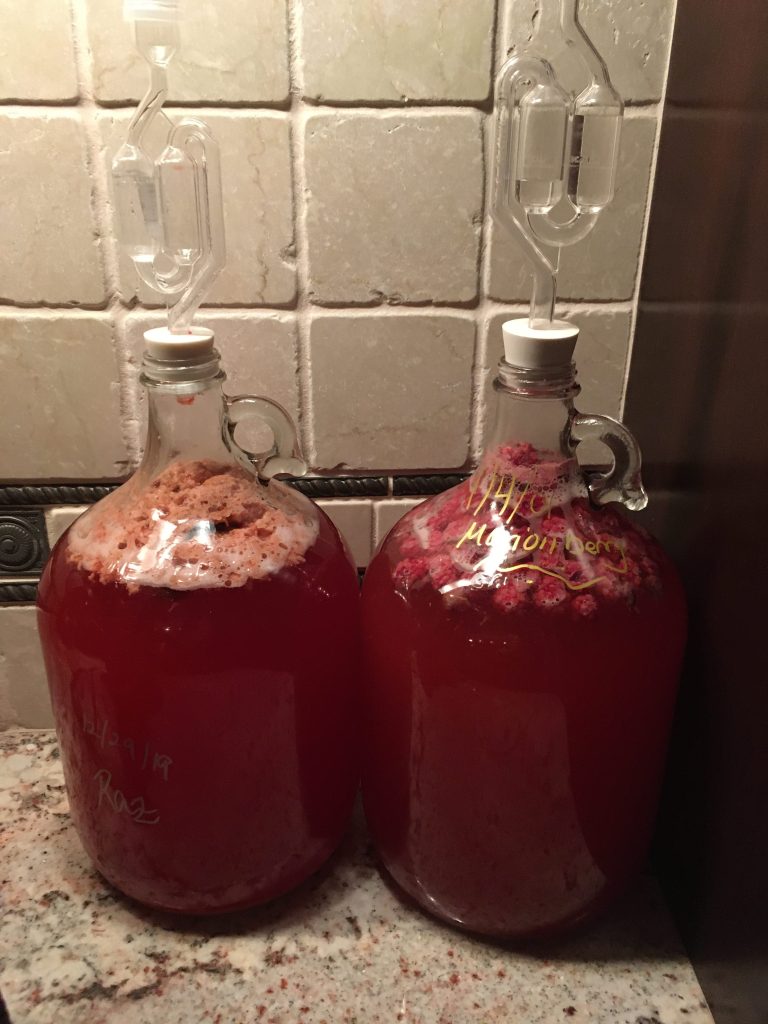
Add yeast, top with airlock, then wait 4-6 weeks for the magic to happen 
Using syphon, move the fermented mead to a second clean/sanitized jug. 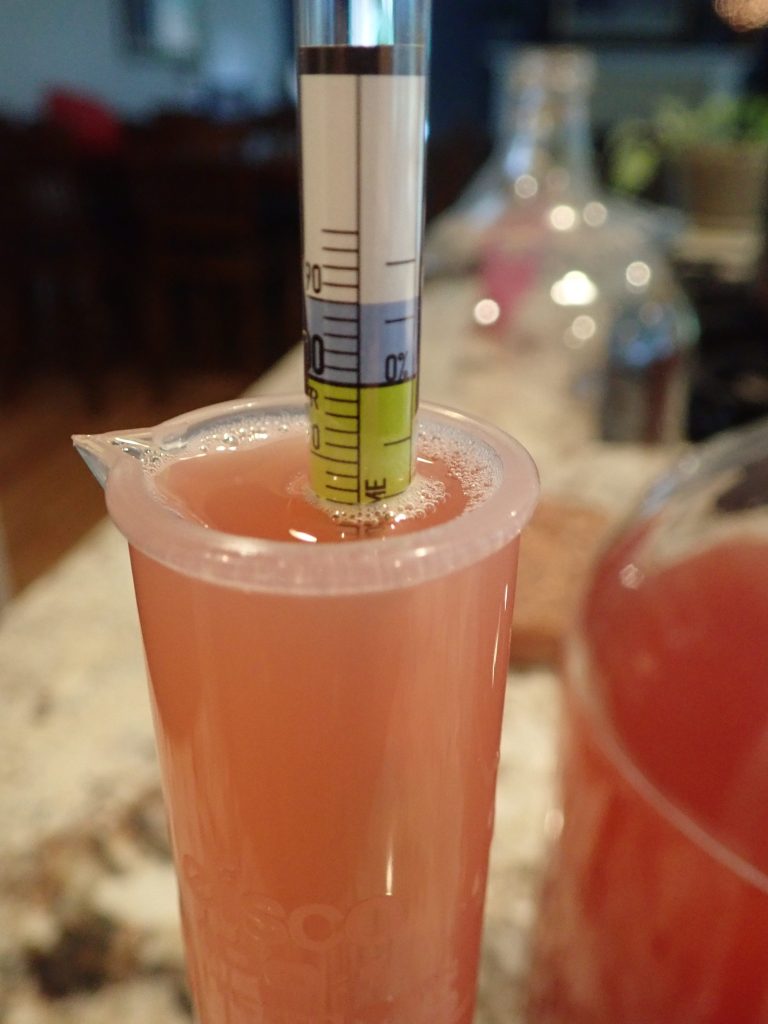
Check alcohol content again after fermenting is complete 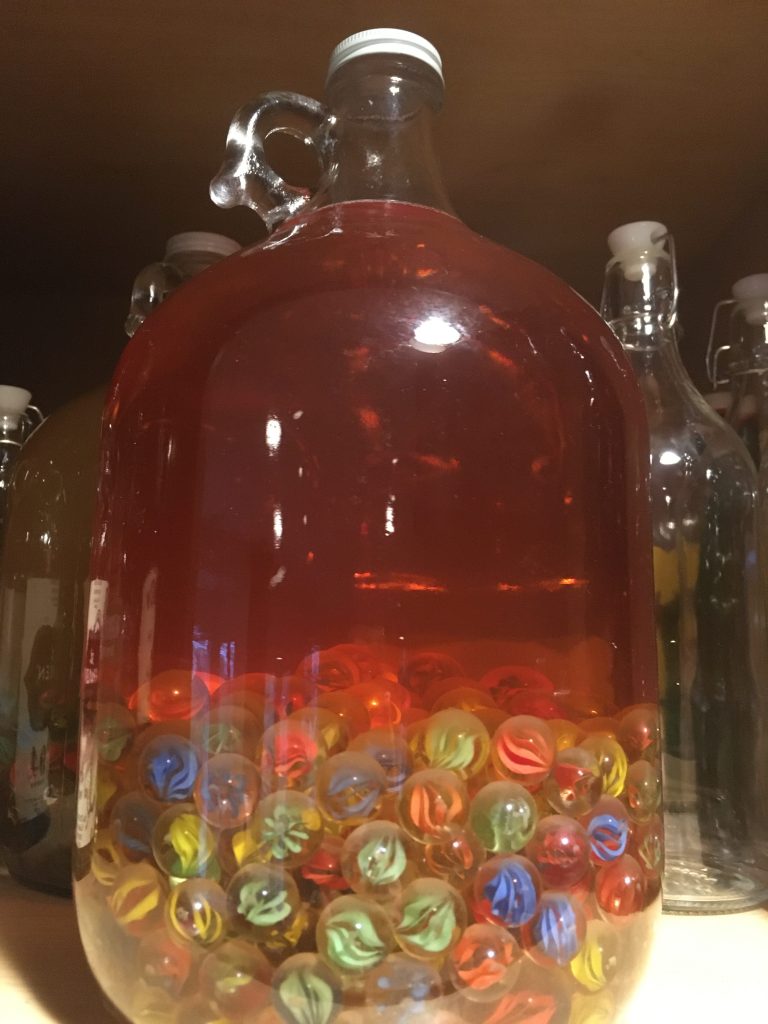
Use marbles to minimize air during secondary fermentation. 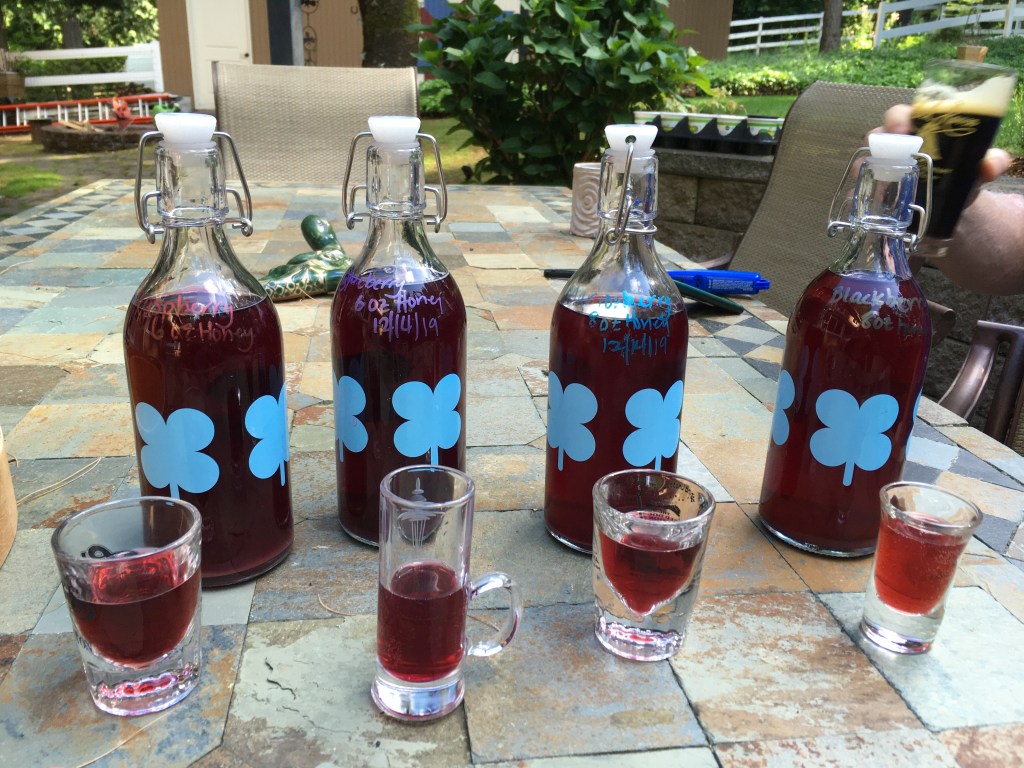
Bottle, sample and enjoy!
Measuring Alcohol Content for Mead
The table below shows hydrometer readings using the “potential alcohol” scale. I think it’s the easiest way to estimate alcohol content (rather than the Brix scale).
| Date | Raspberry | Honey | |
| Pre (Must) | 11/29/20 | 13% | 14% |
| Post | 1/22/21 | 0% | 1% |
| % ABV | 13% | 13% |
I love having mead brewing in the kitchen. Enjoy 💙
#mead #beekeperslife #zen


2 Comments
Comments are closed.